Planning history
In Planning → History, you can view and edit previously created solutions. RouteQ stores solutions for the past 12 months. To learn more, see Data storage period.
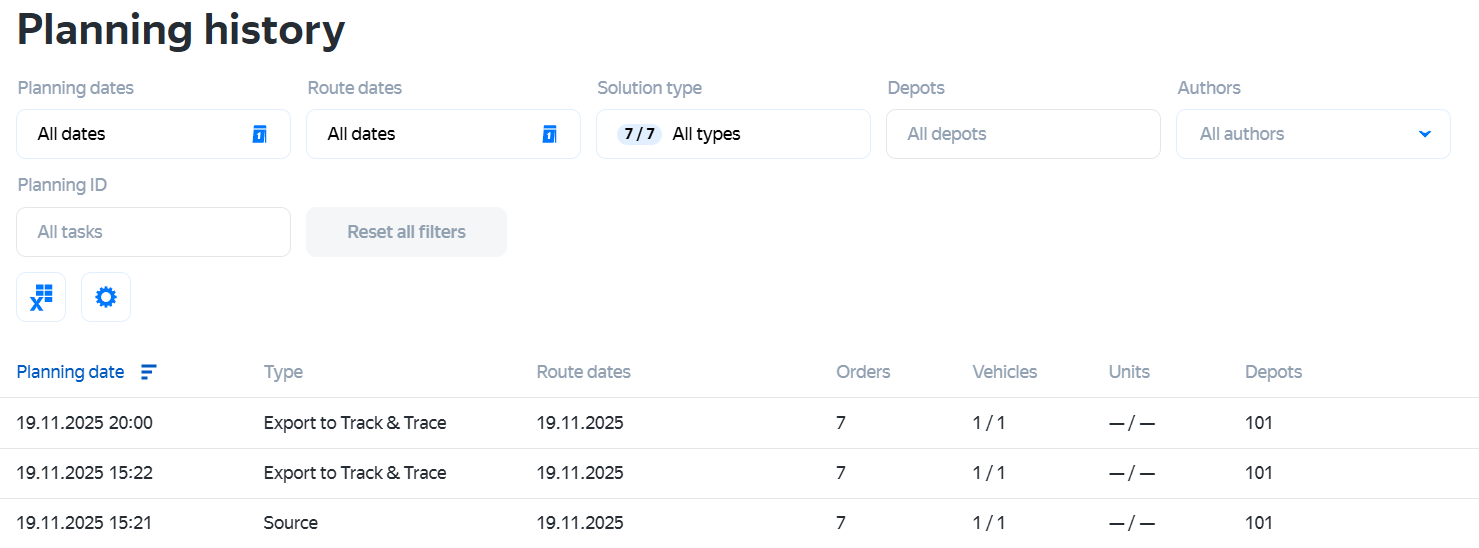
Full list of fields
- Planning date
- Type
- Planning ID
- Route dates
- Orders
- Vehicles
- Depots
- Author
The Type field can take the following values:
- Source: Initial solution to the Planning task.
- Adjustment: Solution that was adjusted by the logistics coordinator. The Orders and Vehicles columns show the number of units involved in the adjustment.
- Export to Track & Trace: Solution that was exported to Track & Trace.
- Export to system (JSON): Solution that was exported to other systems in the JSON format.
- Export to internal systems: Solution that was exported to other systems via the API.
To learn more about solution types, see Export.
If you run the same task several times, RouteQ doesn't process the data again. Instead, it uses the solution that was created earlier. That's why only one string is displayed in the planning history.
Solutions that ran before the planning history was introduced are displayed with an empty Author field.
Note
Your route is optimized for current traffic conditions, considering factors such as congestion and road closures. If you need to revisit this route later, we recommend planning it again rather than editing the existing one.
Working with the table
You can filter solutions in the table:
- By the planning date and route date
-
You can use the Planning date and Route date filters separately or together. To do that, select how to set a date:
- Choose one of the predefined options: Today, Yesterday, 7 days, or 30 days.
- Left-click on the date field and select its value in the calendar.
- Set the date range in the calendar.
- By solution type
-
By default, the table displays all solution types. To hide some of them:
- Click Solution type.
- Click the icon next to the types that you want to hide.
-
To display hidden solutions, click .
- By depot number
-
By default, the table displays all depots.
Enter the depot number in the Depots field to filter the results.
- By solution author
-
By default, the table displays all authors.
Enter a username in the Authors field to find all solutions created by them.
- By Planning ID
-
By default, the table displays all plannings.
To look up a specific planning, enter its ID in the Planning ID field.
To clear your current filters, click Reset all filters.
To download the table in Excel format, click . Only those rows and columns that are currently displayed are downloaded.
Click the row with the solution to view the details in a new tab.
To open the Export to Track & Trace solution type, click at the end of the solution row on the Track & Trace dashboard.
To copy the link to the planning result, click at the end of the solution row.
Table view setup
The Planning ID column is hidden by default. You can unhide it in the table view settings. You can drag columns to reorder them.

Adjust the column width to make sure all important elements fit on the page:
- Hover over the column border.
- Click and hold the left mouse button.
- Move left and right to change the width.