First planning
In this scenario, you'll learn how to start your first planning with an Excel file.
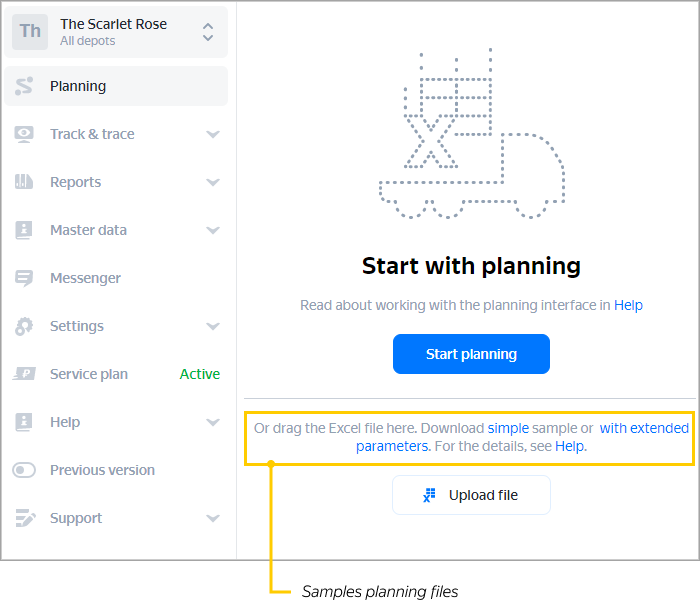
Step 1. Log in to your account
Step 2. Download a file
Download a sample populated Excel file:
- In the Sample planning section in Help.
- In the Planning section in the interface.
Note
For the first planning, take a simple example with a small number of parameters.
Step 3. Populate the file
For the first planning, it's enough to fill in the following fields on the sheets:
- Order number
- Client address
- Time window
- Service duration
- Courier name or number
- Return to the depot at the end of the shift, TRUE/FALSE
- Start and end time of the shift
You can add vehicles before you start planning in Master data → Vehicle and keep them there to use in the future tasks. Learn more in Vehicle reference.
- Depot name
- Latitude
- Longitude
- Depot working hours
All other fields can be left empty.
For detailed file and data requirements, see Instructions for filling in Excel files.
Step 4. Upload the file to the interface
In the Planning section, click Upload file, or drag and drop a file from a folder on your computer.
Note
After it's uploaded, you may see errors and warnings. Errors must be corrected, while you can continue planning with warnings.
Error or warning messages appear next to the names of the tabs where they need to be corrected. There are two ways to navigate between tabs:
-
Clicking Next and Back. The buttons are located at the bottom right of the interface.
-
Going to any tab in the top horizontal panel.

For example, to fix an error saying Includes orders with no coordinates:
- Go to the Map tab.
- Set up a map area for searching coordinates.
- Click Geocode.
- If you can't find the address, click
 → Download orders without coordinates and remove them from planning.
Step 5. Configure the options
- Go to the Settings tab.
- Set the desired settings for the planning task:
- Route date: The date that the route is planned for.
- Time zone: The time zone in which you enter all time windows.
- Transportation method: Select the way your couriers travel.
- Consider geofences: Choose whether the geofences from the master data should be taken into account. This option is displayed only if the directory contains geofences.
- Solution quality: Select Optimal.
Step 6. Run the planning
- In the lower-right corner, click Plan.
- Wait until the planning is completed.
- Evaluate the results.
In the interface, you can view, edit, and export the solution. For more information, see Working with the resulting solution.