Presets
Preset overview
A preset is an existing set of settings that is stored in JSON format and can be included in an API request.
Each preset belongs to one of the following types:
depot: Depot settings.location: Order settings.vehicle: Courier or vehicle settings.vehicle-shift: Courier shift settings.options: Global options.
A preset of a certain type can only be included in the corresponding field of the API request. For more information, see Using presets.
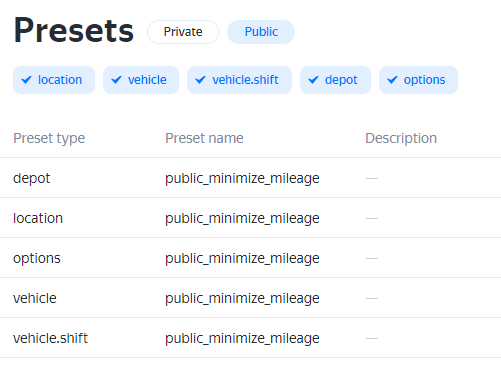
Public presets are available to everyone. Companies can create their own presets from scratch or by modifying public ones.
Presets are usually created and used in sets, with each set containing presets of different types and geared towards solving a specific task. Presets in a set normally have the same name.
Creating a preset
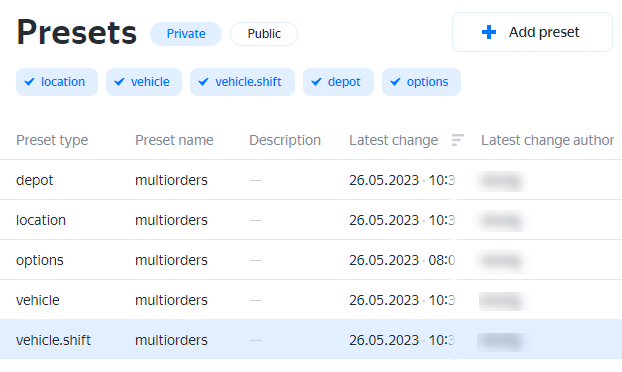
- Under click Private.
- Click Add preset.
- Select a preset type.
- Enter a preset name. The name for presets of the same type must be unique. It cannot start with
public_or contain a comma. - Enter a description (optional) of the situations you plan to use it in.
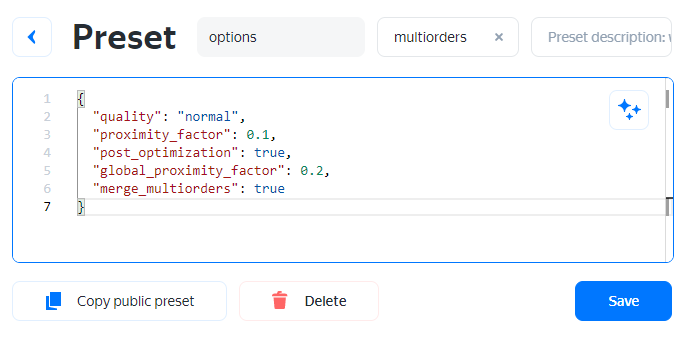
- In the edit window, prepare the preset (settings in JSON format). To format the text, click the Beautify button.
- When the preset is ready, click Save.
When saving the preset, its contents are validated. If the JSON is invalid, you'll receive a message indicating the string that contain errors. Validation is also performed when changing the preset type. An invalid preset cannot be saved.
addressdescriptionidpointreftitleaddressclient_idcommentsdelivery_todelivery_to_anydepot_iddescriptionidphonepickup_from_anypointrefshiftstitletypedepot_idending_depot_idfinish_atfixed_planned_routeglobal_proximity_attraction_pointidimeifixed_work_breaksmiddle_depot_idphoneplanned_routerefshiftsstart_atstarting_depot_idvisited_locationsiddatelocation_groupsaddressdescriptionidpointreftitleaddressclient_idcommentsdelivery_todelivery_to_anydepot_iddescriptionidphonepickup_from_anypointrefshiftstitletypedepot_idending_depot_idfinish_atfixed_planned_routeglobal_proximity_attraction_pointidimeifixed_work_breaksmiddle_depot_idphoneplanned_routerefshiftsstart_atstarting_depot_idvisited_locationsiddatelocation_groups
| Preset type | Field |
|---|---|
depot | |
location | |
vehicle | |
vehicle-shift | |
options | |
| Preset type | Field |
|---|---|
depot | |
location | |
vehicle | |
vehicle-shift | |
options | |
Copying a public preset
You cannot edit public presets. If you want to change the settings of a public preset, save a copy as a private preset and make the changes to that file.
- Method 1
-
- Under click Private.
- Click Add preset.
- Select a preset type, enter a preset name, and provide a description (optional). The name must be unique within the company, and it cannot start with
public_or contain a comma. - At the bottom, click Copy public preset to display a list of public presets of the selected type.
- Select a preset, and its contents will be copied to the edit window.
- Edit the settings and click Save.
- Method 2
-
- Under click Public.
- Open the preset you want to copy.
- Click Make personal copy of public preset.
- Change the preset name and description (optional). You can't change the preset type.
- Edit the settings and click Save.
Editing and deleting a preset
You can only edit your own presets that are available to your company. Only the latest (current) version is stored for each preset.
To edit a preset, click its name. In edit mode, you can change the name, description, and contents of the preset.
 : Beautify code.
You can remove a preset from the list or in edit mode.
- Removing from the list
-
- Hover the mouse over the line with the preset.
- Click
 at the end of the line.
 - Confirm the action.
- Removing in edit mode
-
- Open the preset you want to remove.
- Click Delete.
- Confirm the action.