Working with the vehicle list
Why use this list?
You can go to to save data about vehicles. This data will then be used for planning. You can also add couriers who travel on foot or by public transport to Master data.
A centralized list of vehicles and their parameters makes it easier to fill out Excel files and monitor data relevance and integrity.
In the web interface, you can add vehicles to Master data manually, one at a time. To enter data for a large number of vehicles at once, use Excel files.
Filling in the vehicle list
To add an entry, click Add vehicle. This opens a window for entering data.
In standard mode, you can fill in the following sections:
- Courier parameters (partly)
- Working shifts (partly)
In advanced mode, the input window shows additional fields and sections:
- Courier parameters (full)
- Working shifts (full)
Use decimals in place of fractions.
Identification data
The name of a vehicle and its license plate number are required fields. The license plate number will be used as a login when exporting data to the Track & Trace system.
You also need to choose the Transportation method: by car or truck, by public transport, or on foot.

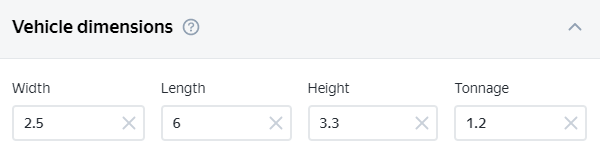
Vehicle dimensions
Dimensions are only specified for trucks. This information is used when planning routes to determine which roads a vehicle is allowed to take and which are prohibited.
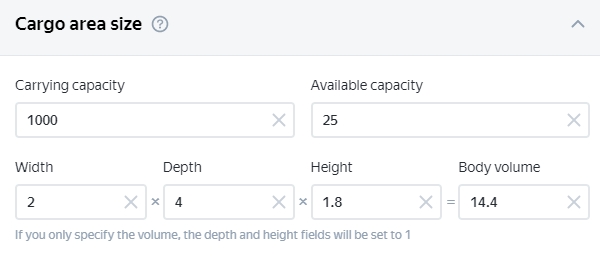
Cargo area size
Information about the cargo area size is required when planning routes to calculate the amount and type of cargo that can fit in a vehicle. Only fill in the parameters that you consider when planning routes.
Load capacity is specified in kilograms and available capacity in units.
If you specify a vehicle's width, depth, and height, the body volume is calculated automatically. The opposite also applies: if you only specify the body volume, the depth and height will be set to 1 and the width will be calculated.
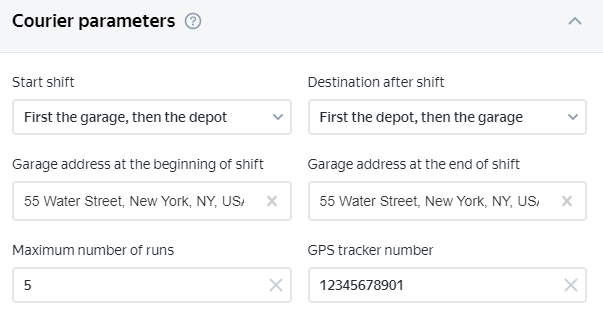
Courier parameters
If you use the Track & Trace system and are going to track a vehicle via GPS, specify the GPS tracker number.
In advanced mode, you can also limit the maximum number of runs for a courier and specify where they need to start and finish their shift.
Working shifts
Make sure to set at least one working shift for a vehicle: the period of time when it's allowed to work. Shift time includes the loading time at the depot, travel time, and handling time at order locations. There may be multiple working shifts.

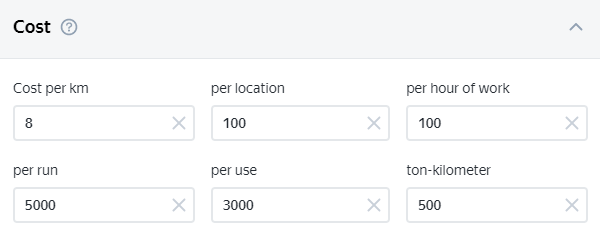
Cost
Cost can only be specified in advanced mode. You can set the cost per kilometer, per visit, per hour of work, per run, per usage, and per ton-km for a vehicle.
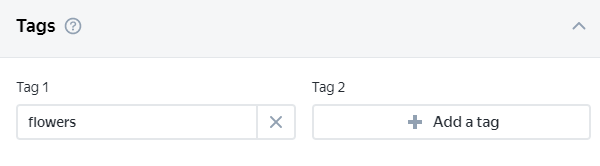
Tags
Vehicle tags are also specified in advanced mode only. Using tags, you can describe the rules for vehicle and order compatibility (for example, if a vehicle requires special equipment to complete an order). There may be multiple tags or no tags at all.
Geofences
You can set limits by delivery zones for vehicles. Specify the zones in which vehicles are allowed and prohibited to deliver orders. You can only add permitted and prohibited geofences when editing an already created vehicle.
Uploading data from Excel
To upload data from an Excel file, click Upload XLS.
- Download a sample template.
- Enter data about your vehicles (see Instructions for completing the Vehicles sheet.
- Upload the saved file to the vehicle list.
Using the vehicle list when planning routes
After you fill in the vehicle list, you don't have to pass the Vehicles sheet in an Excel file. When planning, you can choose whether to use data from an Excel file or the vehicle list on the Vehicle tab. You can switch between these modes at any time.
By default, if the file contains the Vehicles sheet, vehicles from the Excel file are displayed. If there's Vehicles sheet in the file or if you're planning the route using the interface, data from the vehicle list is displayed.
If a vehicle is missing, you can add it to the vehicle lsit directly from the Planning interface.